Requests Post
Overview
The Requests Post tool allows you to execute HTTP POST requests within your AnswerAI workflows. This powerful feature enables your agents to interact with external APIs and services, sending data and receiving responses.
Key Benefits
- Interact with external APIs and web services
- Send complex data structures in POST requests
- Customize headers and request parameters
How to Use
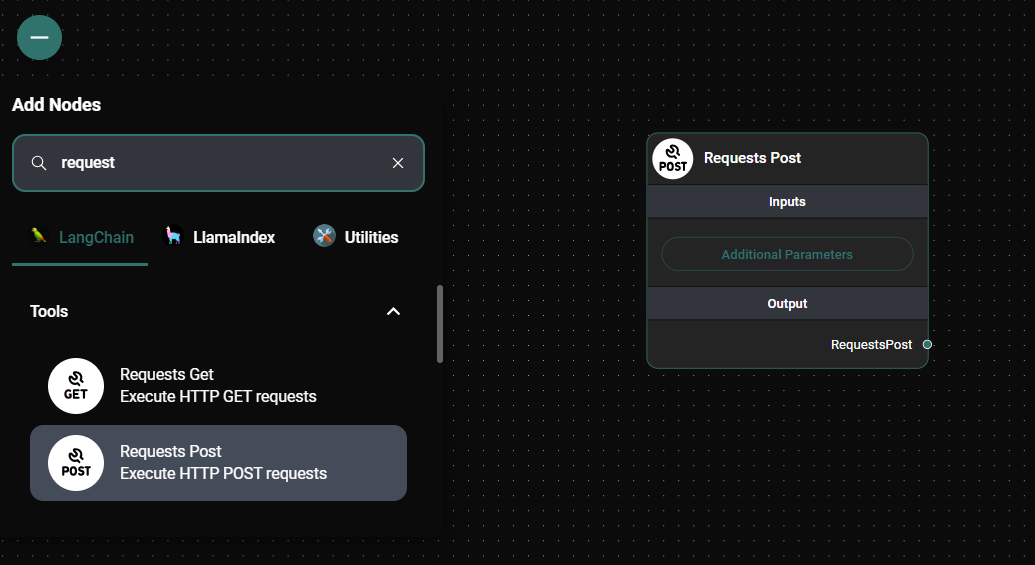
- Locate the "Requests Post" node in the Tools section of the node palette.
- Drag and drop the node onto your canvas.
- Configure the node by filling in the following parameters:
- URL (optional): The exact URL for the POST request.
- Body (optional): The JSON body for the POST request.
- Description (optional): A prompt to guide the agent on when to use this tool.
- Headers (optional): Custom headers for the request.

Requests Post node & Drop UI
Tips and Best Practices
- Use the Description field to provide clear instructions to the agent on when and how to use this tool.
- When working with specific APIs, always refer to their documentation for the correct URL, body structure, and required headers.
- Use the JSON format for the Body and Headers fields to ensure proper formatting of complex data structures.
- If you're using an AI plugin, you can leave the URL and Body fields empty, and the agent will attempt to determine these automatically.
Troubleshooting
- If you encounter "Invalid URL" errors, double-check that the URL is correctly formatted and includes the protocol (e.g., https://).
- For "Invalid JSON" errors in the Body or Headers fields, verify that your JSON is properly formatted without any syntax errors.
- If the request fails, check the response status code and message for clues about what went wrong. Common issues include authentication errors (401) or incorrect request format (400).
Remember that the Requests Post tool is powerful but should be used responsibly. Ensure that you have permission to access the APIs you're interacting with and be mindful of rate limits and data usage.